Saturday, August 20, 2011

Creating a LINQ TO SQL Model for a SQL CE Database

Right now, Visual Studio 2010 cannot create directly a .dbml model (LINQ to SQL) from .sdf file (SQL Server CE). If you try to create a model and drag & drop a table, Visual Studio will give you an error and say that this feature isn't supported.

By default, you cannot use a dbml model for a SQL Server CE database.

Still, the model can be created by using the application SqlMetal.

The application can be found in the directory (supposing that you have Windows installed on the C: partition).

[Windows x64] C:\Program Files (x86)\Microsoft SDKs\Windows\v7.0A\Bin
[Windows x86] C:\Program Files\Microsoft SDKs\Windows\v7.0A\Bin

1)Open Command Prompt (Start->Run->enter cmd in textbox).
2)Once the console (Command Prompt) is opened, write:

SqlMetal /dbml:Database.dbml Database.sdf
Database.dbml must be replaced with the path to the location where you want to generate the dbml model.
Database.sdf must be replaced with the path to the location of the database (the sdf file).

3)The generated file will contain the database map (the database model). To use the model in Visual Studio, you must attach it to your current project.

Friday, August 19, 2011

Working directly with a SQL Server CE Database in VB.NET

In order to work directly with a SQL Server CE database (without using a dataset or mapping tables as classes), we need to directly manipulate objects of classes like SqlCeConnection or SqlCeCommand.

SqlCeConnection is an class that allows you to 
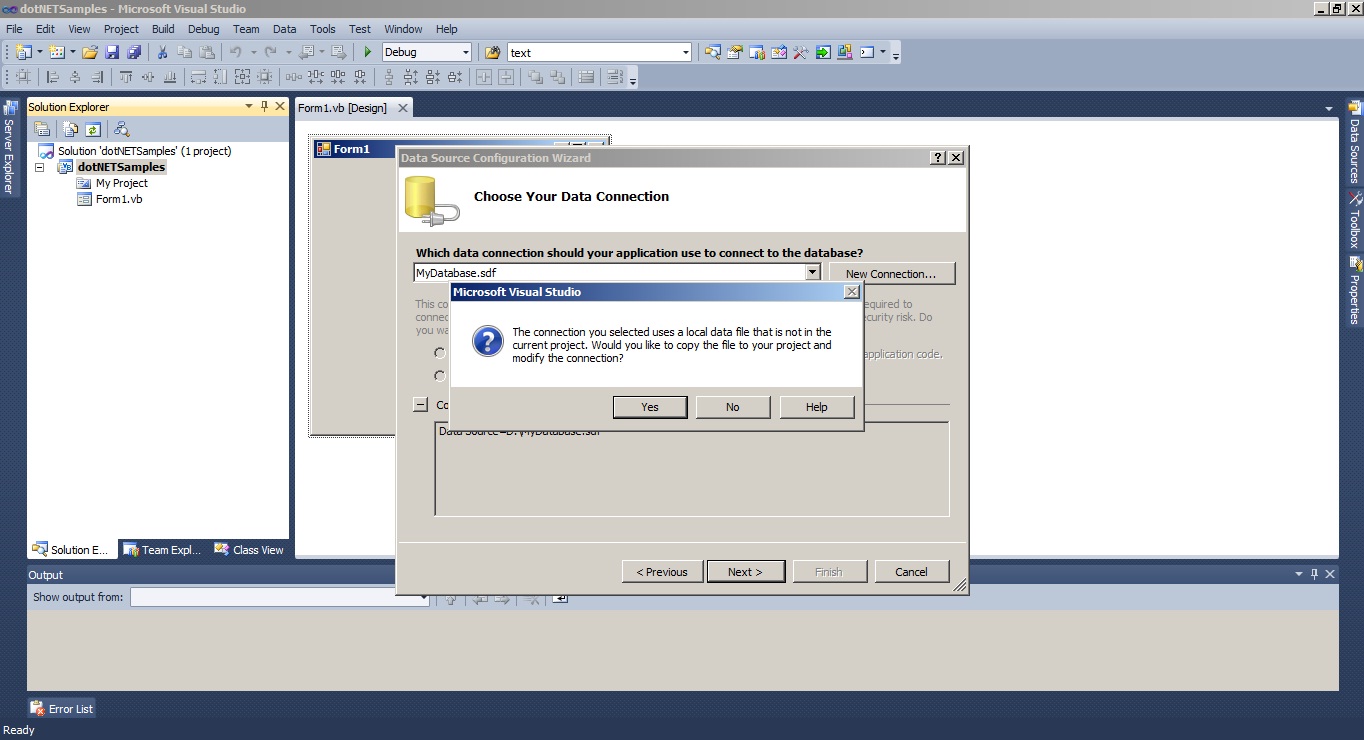
establish a direct connection to the database. In order for the SqlCeConnection object to identify the database you want on your harddisk (since it's a local/desktop database), he needs to have an 
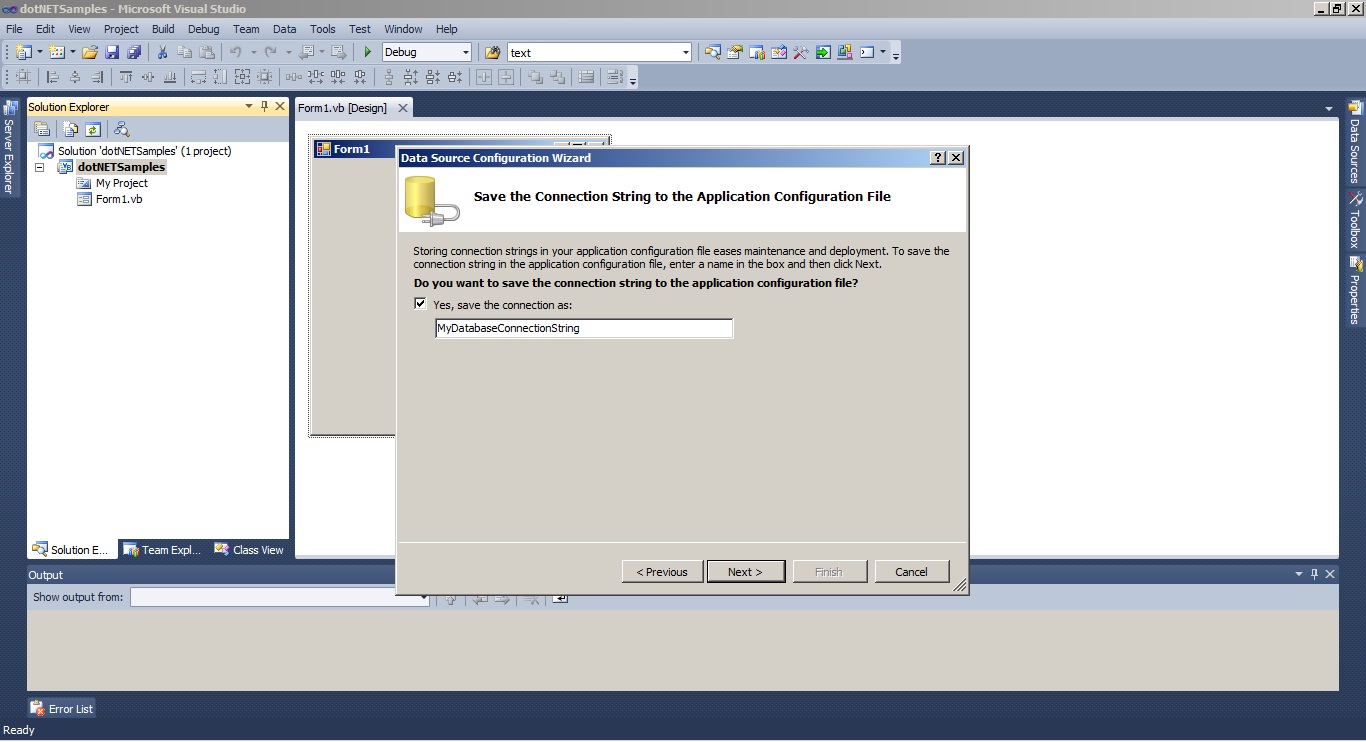
connection string. The connection string is formatted string that contains, among others specifiers, the path to the your database file.

SqlCeCommand is a class that allows you to execute queries and non-query commands (like INSERT, UPDATE, DELETE, etc). In order to create an SqlCeCommand you need to specify a SqlCeConnection and a string containing the command you want to execute.

SQL statements can be grouped in 3 categories:
-table queries (ex. "SELECT * FROM myTable")
-single (scalar) queries (ex. "SELECT AVG(salary) from Employees)
-non-queries (ex. "INSERT INTO myTable VALUES(1,"John")" ).

A simple class that allows communication with an SQL Server CE database could be implemented like:

As you probably observed by now, every method is placed around a try/catch block. This was done because if the connection string is wrong, the method SqlCeConnection open() will trigger an exception. Also incorrect SQL statements can also trigger exceptions.
Imports System.Data.SqlServerCe
 
Public Class SimpleSqlCeAdapter
    ''' 
    ''' The connection object used for communicating with the database
    ''' 
    Private sqlConnection As SqlCeConnection
 
    ''' 
    ''' Creates a new SimpleSqlCeAdapter object for an unencrypted
    ''' database.
    ''' 
    ''' The path to the database file
    Public Sub New(ByVal path As String)
        Dim connectionString As String = "Data Source=" & path
        sqlConnection = New SqlCeConnection(connectionString)
    End Sub
    ''' 
    ''' Creates a new SimpleSqlCeAdapter object
    ''' 
    ''' The connection string used for 
    ''' connecting to the database
    ''' The path to the database file
    Public Sub New(ByVal path As String, ByVal connection As String)
        Dim connectionString As String = connection & path
        sqlConnection = New SqlCeConnection(connectionString)
    End Sub
    ''' 
    ''' Queries the database for a DataTable object
    ''' 
    ''' A SQL SELECT statment
    ''' A datatable if the sql statment is correct. 
    ''' Otherwise it returns Nothing
    Public Function QueryDatabaseForTable(ByVal queryCommand As String) _
                    As DataTable
        Try
            Dim table1 As New DataTable("Table1")
            Dim sqlCommand As New SqlCeCommand(queryCommand, sqlConnection)
            sqlConnection.Open()
            Dim sqlReader = sqlCommand.ExecuteReader()
            table1.Load(sqlReader)
            sqlReader.Close()
            Return table1
        Catch ex As Exception
            Console.Error.Write(ex.Message)
            Return Nothing
        Finally
            sqlConnection.Close()
        End Try
    End Function
    ''' 
    ''' Queries the database for a String object.
    ''' 
    ''' A SQL SELECT statement that
    ''' returns a single value.
    ''' 
    Public Function QueryDatabaseForScalar(ByVal queryCommand As String) _
                    As String
        Try
            Dim sqlCommand As New SqlCeCommand(queryCommand, sqlConnection)
            sqlConnection.Open()
            Return CType(sqlCommand.ExecuteScalar(), String)
        Catch ex As Exception
            Console.Error.Write(ex.Message)
            Return Nothing
        Finally
            sqlConnection.Close()
        End Try
    End Function
    ''' 
    ''' Executes a SQL statement which returns no value (Which is not
    ''' a query).
    ''' 
    ''' The SQL statement which will be
    ''' executed
    Public Sub ExecuteNonQuery(ByVal queryCommand As String)
        Try
            Dim sqlCommand As New SqlCeCommand(queryCommand, sqlConnection)
            sqlConnection.Open()
            sqlCommand.ExecuteNonQuery()
        Catch ex As Exception
            Console.Error.Write(ex.Message)
        Finally
            sqlConnection.Close()
        End Try
    End Sub
End Class
It is very important to note that the SqlCeConnection must be closed even if an exception was triggered. Because of this the method SqlCeConnection.close() was called inside a finally block.

In order to see the use of this class let's take an example:

We shall consider that we have SQL Server CE database called MyDatabase. This database consists of a single table called Table1 who contains the fields ID (numeric) and Name (nvarchar). The table contains the following 3 records:
1 John
2 Bill
3 James
The database is unencrypted (has no password) and its path is "D:\MyDatabase". 
Public Class DataClient
    Public Shared Sub Main(ByVal args As String())
        'Creating the simple SqlceAdapter by specifying the path
        Dim di As New SimpleSqlCeAdapter("D:\MyDatabase.sdf")
        'Inserting a new record
        di.ExecuteNonQuery("INSERT INTO table1 VALUES(4,'Bob')")
        'A table query
        Dim dt As DataTable = di.QueryDatabaseForTable("SELECT * FROM table1")
        For Each dr As DataRow In dt.Rows
            Console.WriteLine("{0} {1}", dr(0), dr(1))
        Next
        'A simple scalar query
        Dim s As String = di.QueryDatabaseForScalar("SELECT AVG(ID) FROM table1")
        Console.WriteLine(s)
        Console.Read()
        'Output
        '1 John
        '2 Bill
        '3 James
        '4 Bob
        '2.500000
    End Sub
End Class
A simple program that would insert a new record and then show the table and the average id would be:  

Change log
  • v1.1
    • Added documentation
    • Errors are now redirected to an error stream.
  • v.1.0
    • First release
Useful links:
Connection strings for Sql Server C# 2005

Thursday, August 18, 2011

Creating and Populating a Local Database in Visual Studio 2010 using Microsoft SQL Server CE

1) Create a new project (File->New Project->Visual C# (or Visual Basic) ->Windows Form Application) or open an already created .NET project.

2) Create a local database: Data - Add New Data Source.
Adding a new data source
3) Choose Database and press Next.
Selecting a database
4) Now you are presented two options: Dataset and Entity Data Model.

If you choose the Dataset options, you will have to create a BindingSource object and a Dataset object to access the database in your program. In terms of performance, the Dataset is better than the Entity DataModel.

If you choose and Entity Data Model, the tables and records will be mapped as classes and objects and you will be able manipulate them more easily. In terms of rapid development, a Entity Data Model is better than a Dataset.

In this example we shall choose to access our data through a Dataset.
Dataset vs Entity Data Model
4) In your new window choose New Connection. You will be presented with several options for configuring the connection to your database.
Configuring the connection
5) Click the Change button. Now you will be presented with a selection of several databases type (Access, Oracle, SQL Server, etc). To use a local SQL Server, select the option SQL Server Compact 3.5 option.
Selecting a SQL Server Compact 3.5 database
6) Now you will observe that the layout of your window changed a little bit. Now you can choose to create a new database or provide the location of an already created database. In this tutorial we shall create a new database by pressing the button Create.
Configuring the database
7)Now you must provide a path for your database. You can also choose to encrypt your database by providing a password or change the database's character set (so you could use locale-specific characters).
Creating the database
8)After you created the database, it is generally good practice to test if you can connect to it. This can be done by pressing the button Test Connection. If you done the things right, you will receive a message like the one bellow.After the test press OK again to advance to the next dialog.
Testing the connection
9)In the new window, you can see your connection string in the bottom textbox. Press Next to proceed. Now you will be asked if you want to copy your database file into the current project.

If you choose Yes, your database will appear in Solution Explorer, but any changes you do to the database (like inserting, updating or deleting records), will be lost when you close your application. This happens because every time you run your application a copy of the database will be made in the Debug/Release folder who contains your executable, a copy who will be lost when you close and restart your application. You can modify your database by using Visual Studio's tools, but not your application. This is a good thing if you want to distribute your database along with your application and will protect the database from bugs in your software. 

If you want to modify the database using your application and keep the changes choose No.
Choosing if the database will be added to the project
10)After doing this you will be asked if you want to save your Connection String to the application configuration file. Check Yes and press Next.
Saving the connection string
11)Now you will receive a message that your database contains no objects. This is normal since it was just created. To the bottom you will see the name of your Dataset. This dataset will be added to the Solution explorer. Press Finish.
Saving your database and its dataset
12)Now that you created your database its time to add some tables and some record. To do that open the Server Explorer window (Ctrl + W, L). There you can see your database file. To create a table you simply need to right-click on it and select the option Create Table.
The Server Explorer perspective
13)Now you can give a name to the table and begin configuring the fields.
Creating a Table Schema
By repeating 12) and 13) you can create multiple tables.

14) In order to populate your table, right click on the newly created table and select the option Show Table Data. This will open a window where you can insert new records, modify the existing ones and even delete older records.
Populating the database
Related Posts Plugin for WordPress, Blogger...